Turn this edge which measures the same as the width of the pillow under a quarter-inch and press. Leather Pillow Faux Leather Fabric Diy Throw Pillows Diy Leather Projects Pillow Crafts Weekend Crafts Colourful Living Room Boho Diy Diy Home Decor Projects.
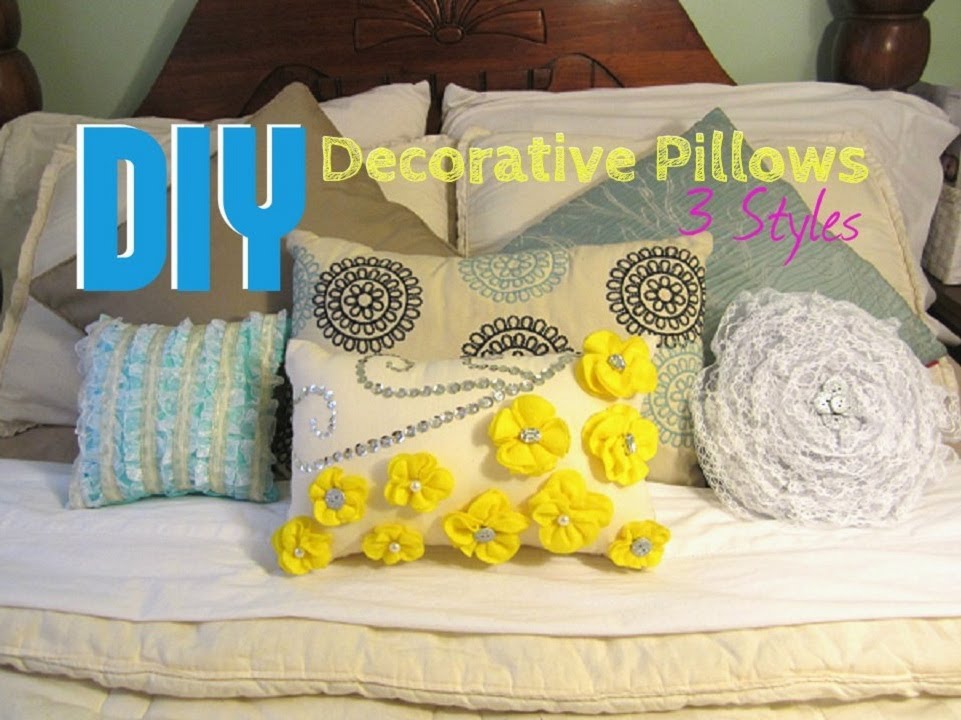 Diy Decorative Pillows 3 Styles Youtube
You can opt for 1 piece of silk and 1 piece of velvet or 2 pieces of cotton.
How to make decorative pillow. There are tons of ideas to make throw pillows. To create the back of the pillow cover cut one piece of fabric the same width as the front piece of the pillow and 4 inches longer than the length of the pillow front. But why not make the pillow cover more personal and make your own.
1 X Expert Source Mia Danilowicz Master Tailor Expert Interview. A quick and easy tutorial on how to make budget friendly no sew pillow covers using napkins and placemats. Heres how to make them in about 10 minutes with a few tips to make them even easier.
Measure mark and cut two pieces of fabric to the same width as the dish towel by half the length adding 1 inch to width and 3 inches to length measurements for. Use this fall craft idea to learn how to make a decorative pillow for fall. Step 1 Cut 2 pieces of fabric that each measure about 15 -20 inches square.
A throw pillow with a zipper makes it easy to w. You can decorate them with different fabric felt burlap stencil or even paint them. Youll fall head over heels for this mod 70s-inspired floral pillow.
2 Put the fronts together front to front matching up the edges. To measure and cut the fabric add an inch to the height as well as the length of the pillow insert to create a seam allowance. You can make the squares smaller or larger if youd prefer.
A simple way to update your home decor is by changing your throw pillow covers and you can do this seasonally. If sewing pillows is not your thing. You can add embellishments to no sew pillows.
To make dish-towel pillow. How to Make Simple Farmhouse Decorative Pillows Only a few supplies are needed. The scrap buster fall pillow features colorful leaves made of scrap fabrics arranged in the shape of an autumn tree.
1 Decide which side is the back and which side is the front on both pieces. A folded cover takes up very little storage space. For a more interesting decorative throw pillow use 2 different fabrics.
Learn how to make decorative pillow covers that you can change seasonally for less than 20. I am sharing 25 ways to make Easy decorative pillows pillow tutorials today. The largest piece pictured at the bottom will be the front of your pillow cover.
Affiliate links included for your convenience. Throw pillows are the easiest way to spruce up any room. 4 Flip up the edge of the top piece of fabric so you can see about an inch or two of the bottom piece.
Step 2 Using a ruler and fabric pen draw two squares on the fabric using these dimensions. The two smaller pieces will create the envelope on the back of the pillow. Fold the piece in half lengthwise and cut along the fold.
You will need to cut out three pieces for each pillow. Get the fabric supplies you need at OnlineFabricStore. 3 Lay your fabric out on a flat surface.
You will slip your pillow form into the cover this way.
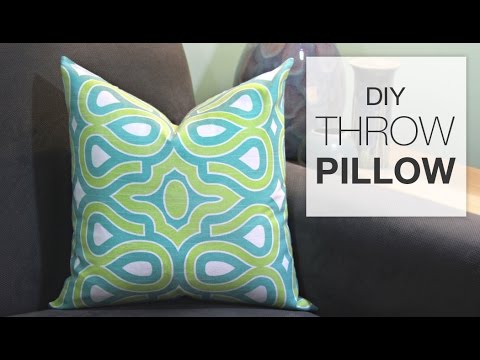 How To Sew A Throw Pillow Tutorial Youtube
 15 Must Make Throw Pillows For Spring Throw Pillow Diy Throw Pillow Covers Diy Diy Throw Pillows
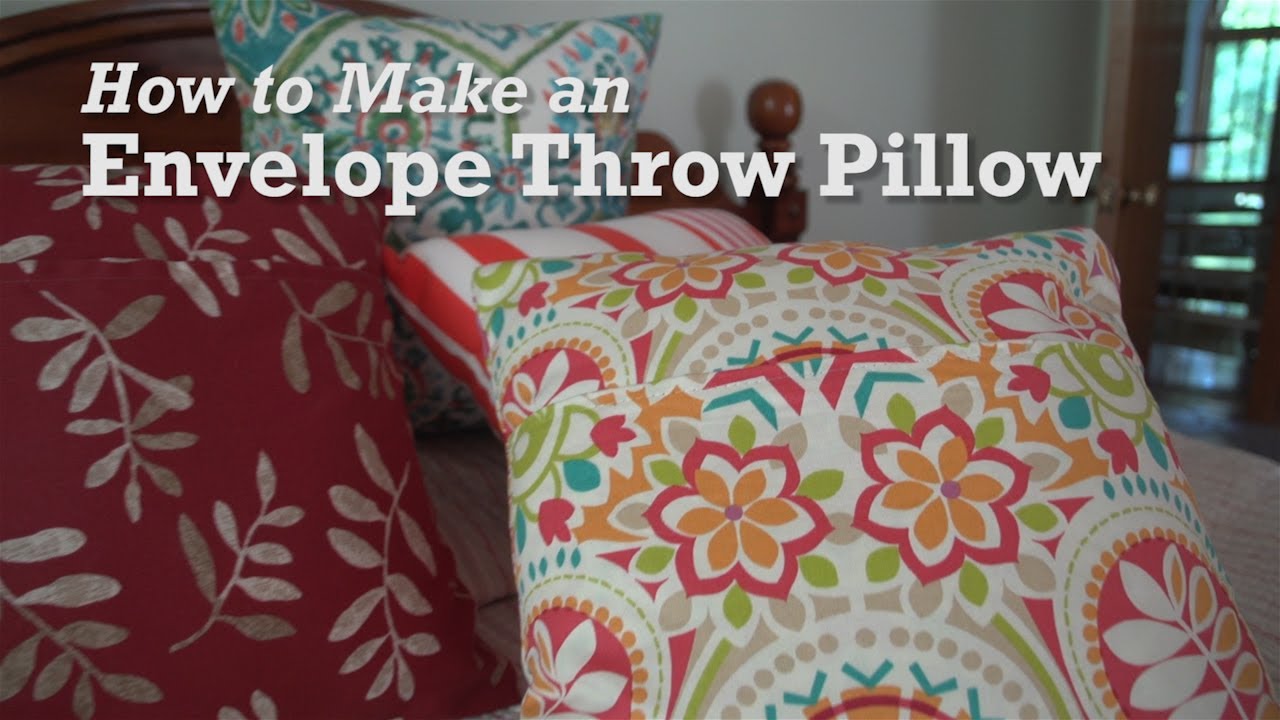
How To Make An Envelope Throw Pillow Youtube
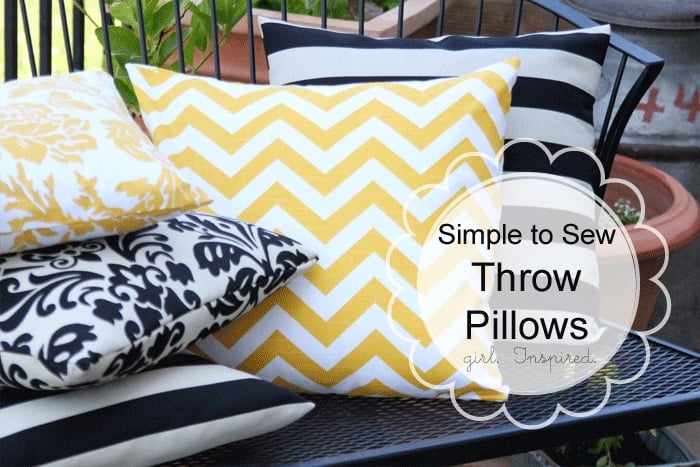 How To Make A Pillow Simple Sewing Girl Inspired
 Easy Diy Throw Pillow Covers Step By Step Tutorial
 30 Easy Diy Accent Pillows That You Can Make In An Afternoon Diy Crafts
 How To Make Throw Pillows Without Sewing Diy
 Diy Throw Pillow Projects The Budget Decorator
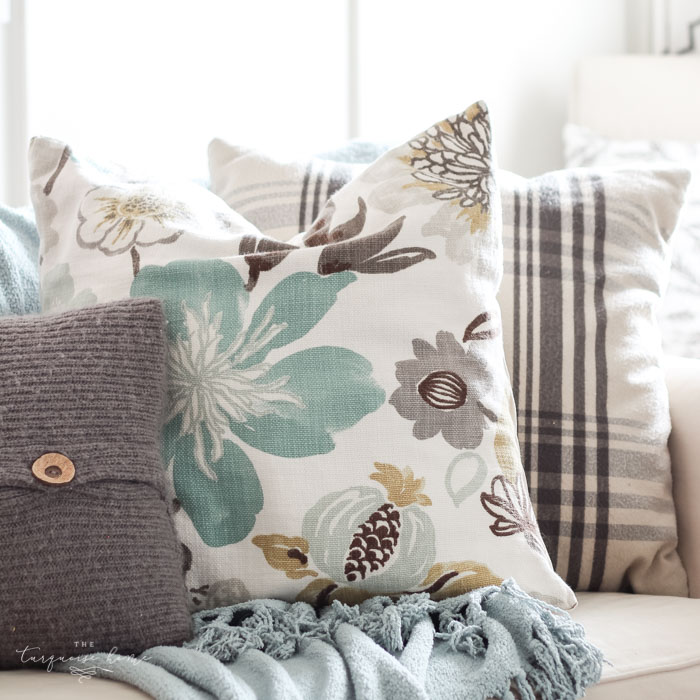
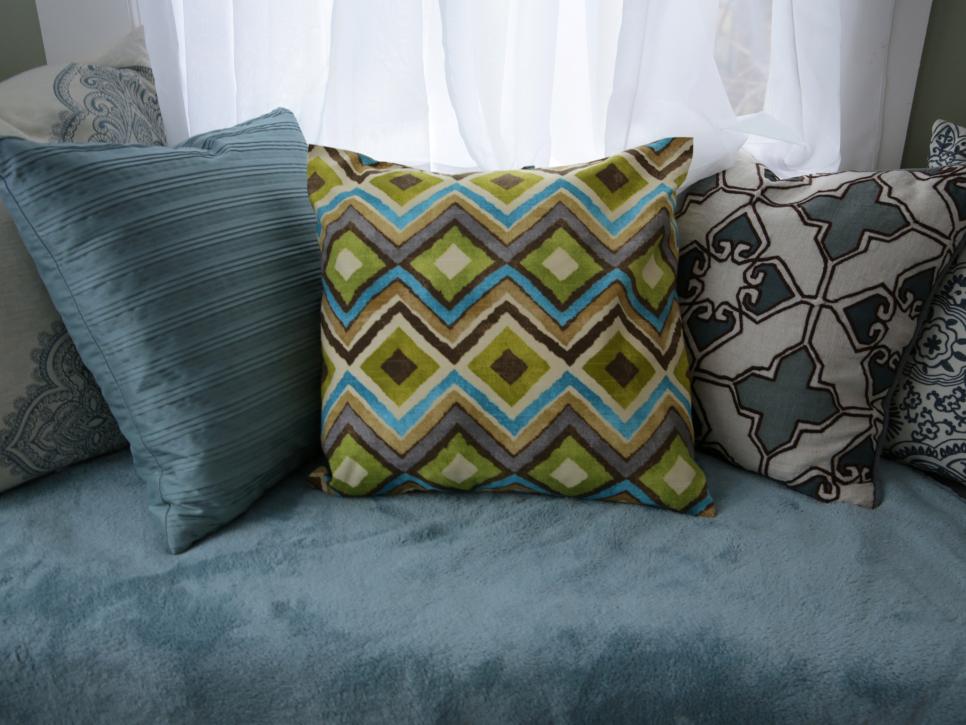
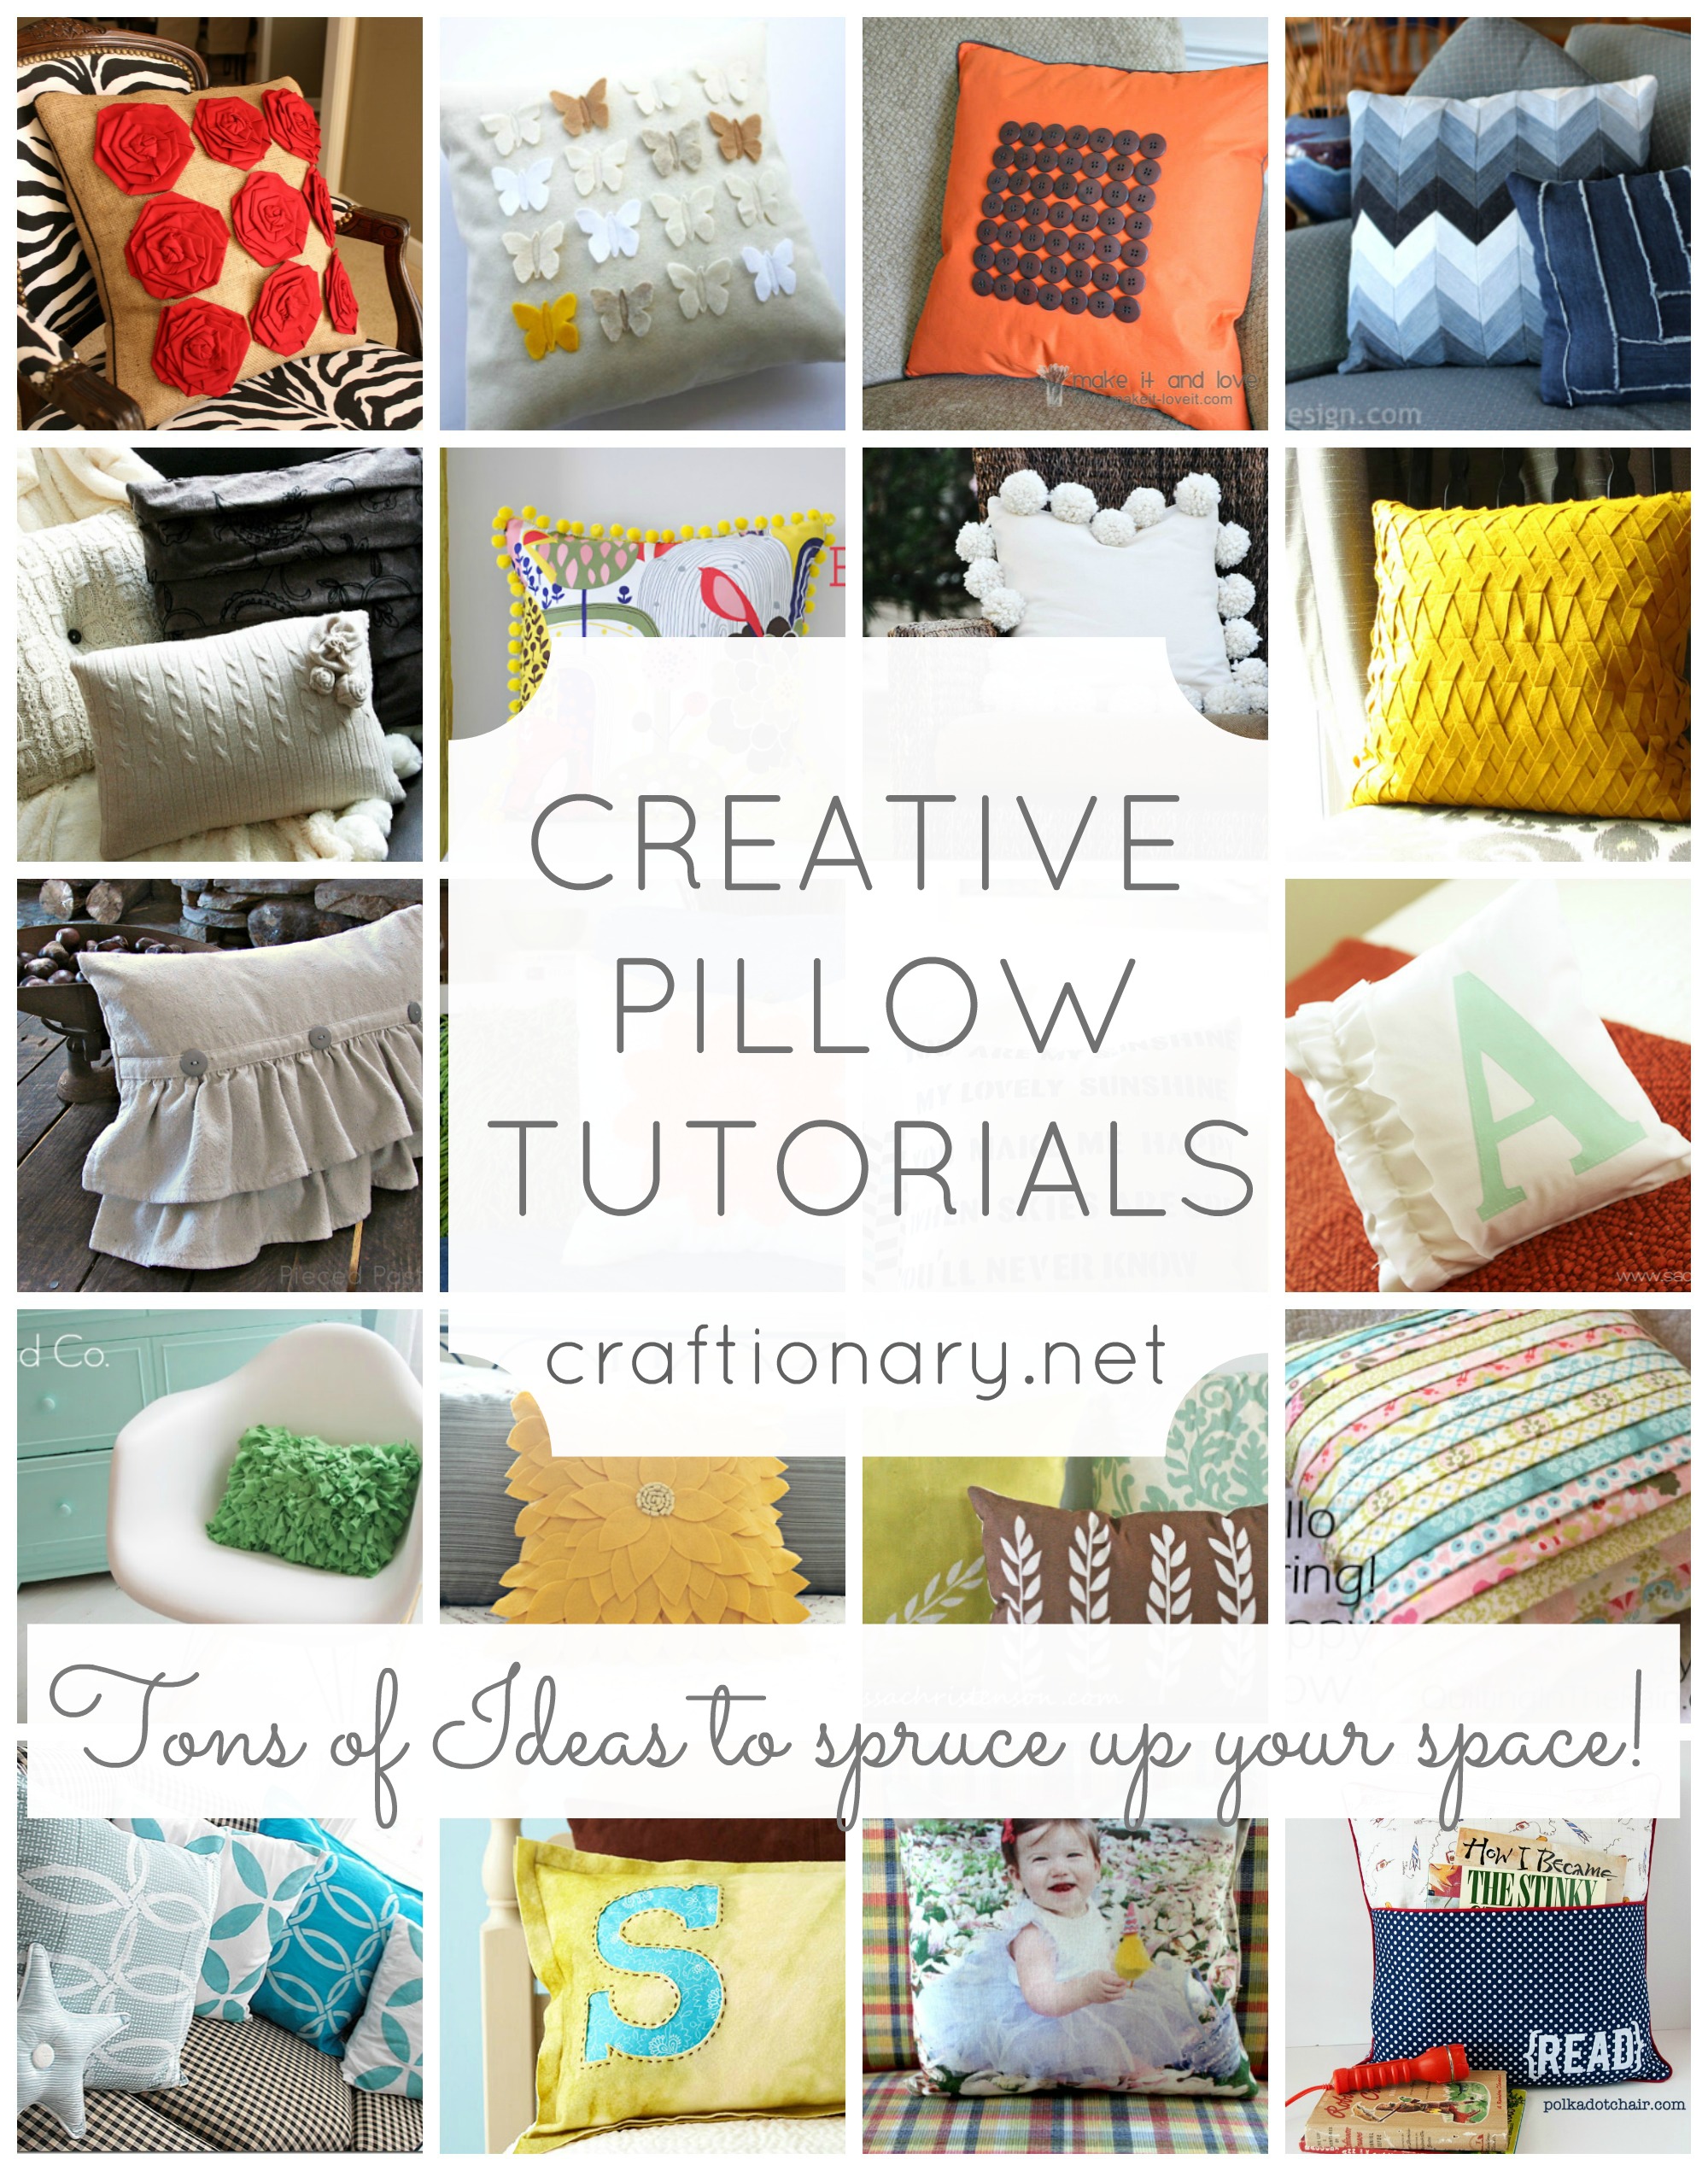 25 Easy Decorative Pillow Tutorials Make Throw Pillows Craftionary
 Diy Decorative Throw Pillows Sewing Tutorial It S Always Autumn
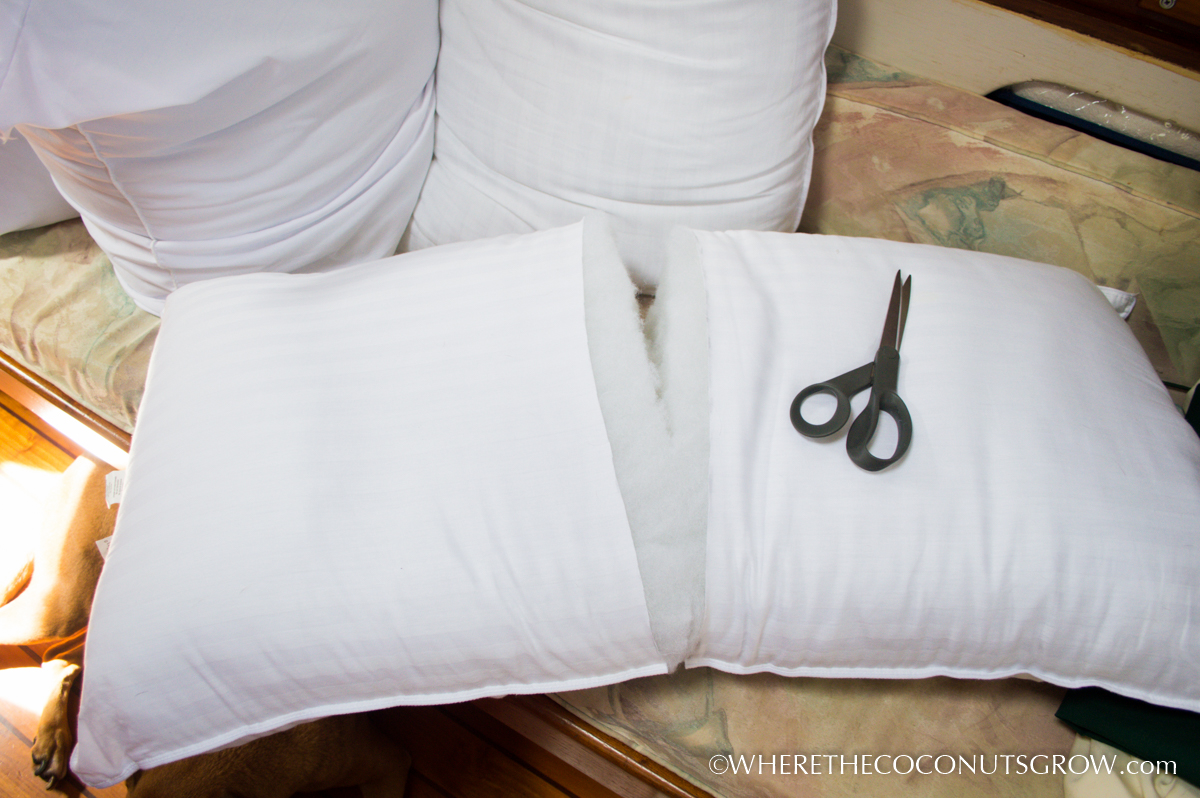
 How To Recycle A Sweater Into A Throw Pillow
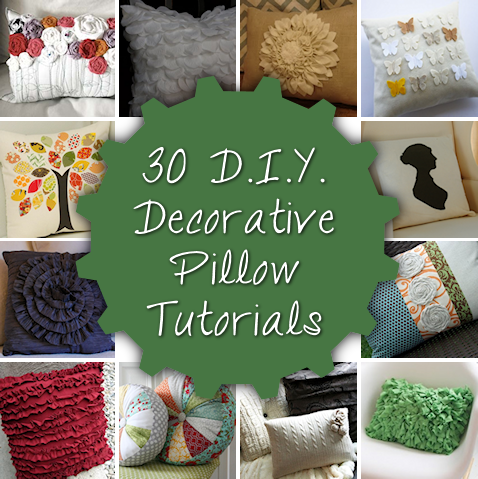 30 Decorative Diy Pillow Tutorials Addicted 2 Decorating
 10 Diy Throw Pillow Ideas Diy Throw Pillows Diy Pillows Diy Throws
Comments
Post a Comment